Email: SendFor your standard emails, choose on the 'Send' tab when the sending should take place. This is not necessary for emails with the behavior dialog email and campaign email. These are activated once, and sending then takes place event-based to individual subscribers, e.g. as an automatic confirmation of a newsletter opt-in. You define which dialog email is sent when in the opt-in setup, opt-out setup or profile manager setup. You select campaign emails in the sending element of campaigns. Sending standard emailsYou can send your newsletters immediately or time-controlled. In both cases, sending only takes place after you click the 'Ready to send' button and then confirm the summary of your settings.
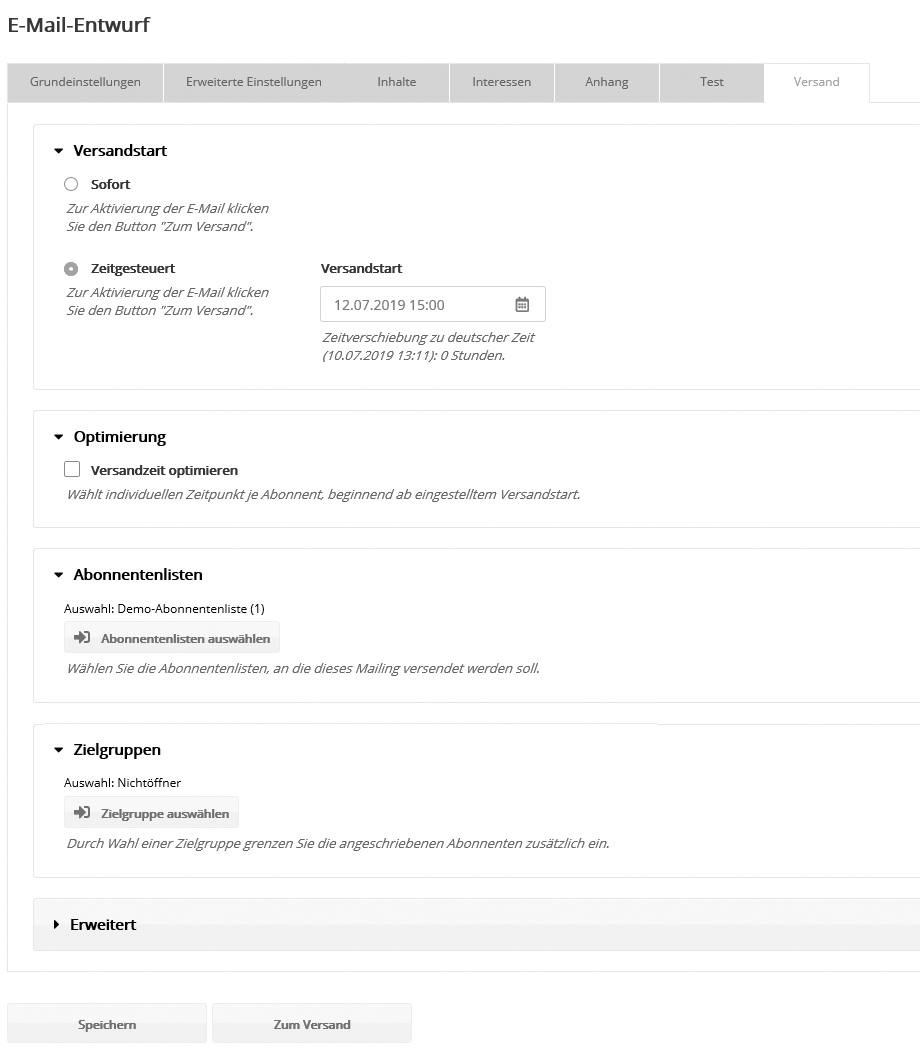
The two options for starting the sending:
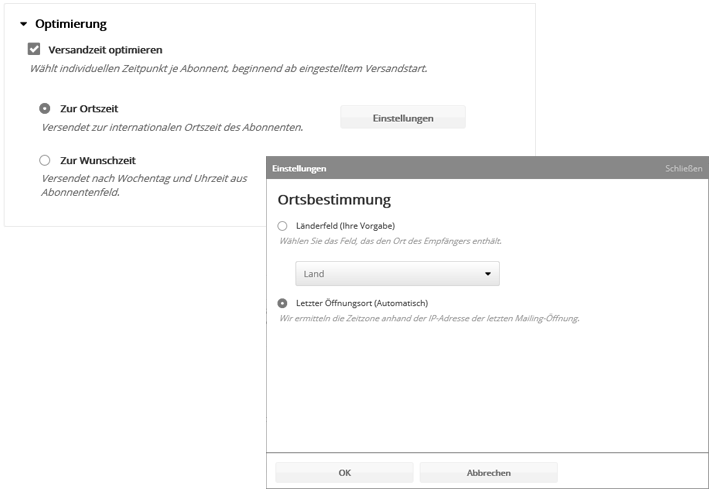
Optimization (optional)If you have booked the 'Send time optimization' module, emma sends at an individual time for each recipient, according to your specifications. An optimal send time can help increase the open rate. There are two variants to choose from:
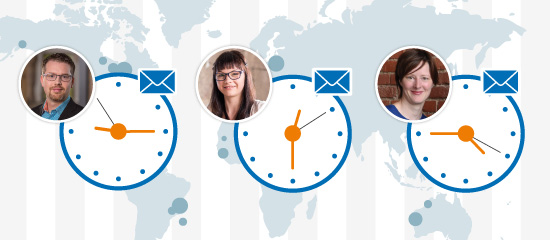
Variant 1: By local timeEach recipient receives the newsletter at the matching local time anywhere in the world. You choose the sending start time, and we stagger the sending within 24 hours according to each subscriber's time zone. This lets you send to international recipients without any extra manual effort, especially time-of-day-related offers that you want to communicate worldwide.
Example: If you have set 9 a.m. as the sending start, recipients in Berlin receive the newsletter at 9 a.m. German time, recipients in London one hour later, and recipients in New York six hours later, at 9 a.m. New York local time. Use the 'Settings' button to choose the source used to determine the location.
Subscribers without location information receive the mailing in the classic way without optimization, i.e. at the configured sending start. Variant 2: By desired timeEach recipient receives the newsletter at the desired time they subscribed to, which is entered in the special subscriber fields sending weekday and sending time. Both fields must exist in the account, but may also contain empty values. This variant is suitable for newsletters without time-critical content for which a particularly high open rate is desired. You choose the sending start time, and we stagger the sending within 7 days according to the subscribers' wishes. You can use the function as follows:
What happens if the subscriber fields for sending weekday or sending time contain no value?
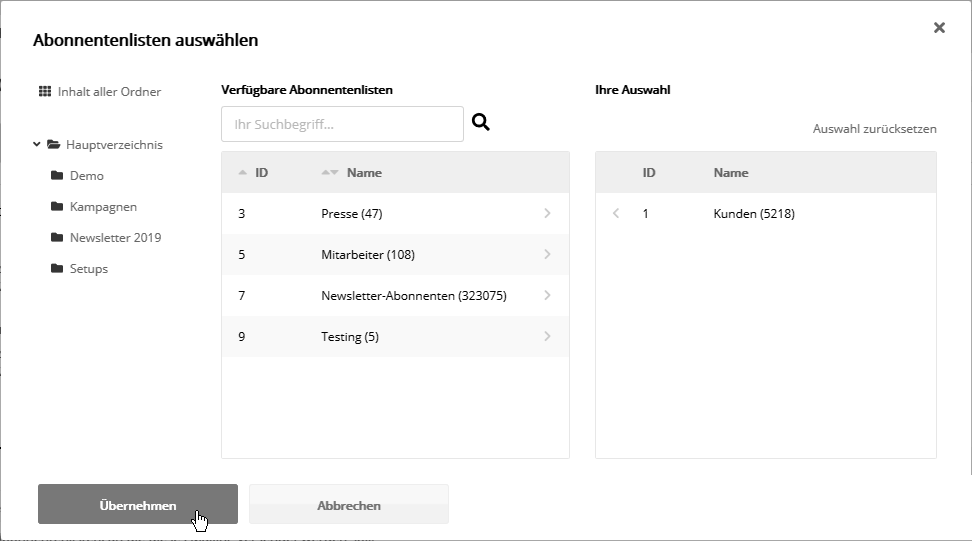
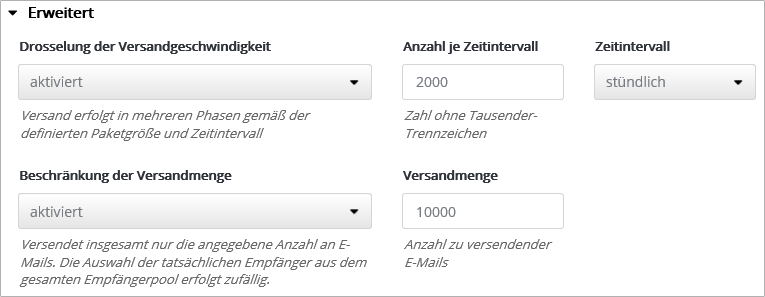
Selecting recipients: subscriber lists and target groupSelect one or more subscriber lists you want to send the mailing to. Optionally, you can narrow down the recipients further by selecting an exclusion list and one or more target groups. If several target groups are selected, they all receive the mailing together. The example screenshot shows the selection of subscriber lists. To select one list, click the name of the list. To select several lists, drag the mouse down over the lists you want. Your selection is applied when you release the mouse button. Use the search field to search for a specific list name or list ID. Advanced: Throttling the sending speed and limiting the sending volume (optional)In the 'Advanced' section, you can throttle the sending speed or limit the sending volume.
Note "What happens when": The sending process starts with personalization. The sending system composes the email content for each individual recipient based on the subscriber data (salutation etc.). This personalization starts for each individual subscriber according to the configured throttling, not immediately for everyone. This ensures that every mailing sent always uses the latest subscriber data, even if it has changed after the sending was activated. 'Ready to send' buttonAfter clicking 'Ready to send', you get a summary of the most important data of your mailing:
After carefully checking the summary, click 'Send now'. If you still notice a wrong setting afterwards, you need to react very quickly. As long as the sending is still running, you will find a "Pause" button at the very bottom of the "Details of sending" popup. You can use it to pause or cancel the sending. Details of sending and sending progress
Once the sending has started, the new action link Details of sending appears in the overview. You see a short summary of the mailing, a progress bar and the individual sending stages from 'Ready' to 'Sending completed'. The sending stages show you exactly when the sending is complete. Click 'OK' to return to the email overview. You can also close the window early and open it again via the 'Details of sending' shortcut. During sending, standard mailings take on the status 'sent', 'will be sent time-controlled on ...' and 'waiting' . You can then use our sending status display to see directly during the sending how many of your emails have already been sent. |