


Email: Creating content with a template
|
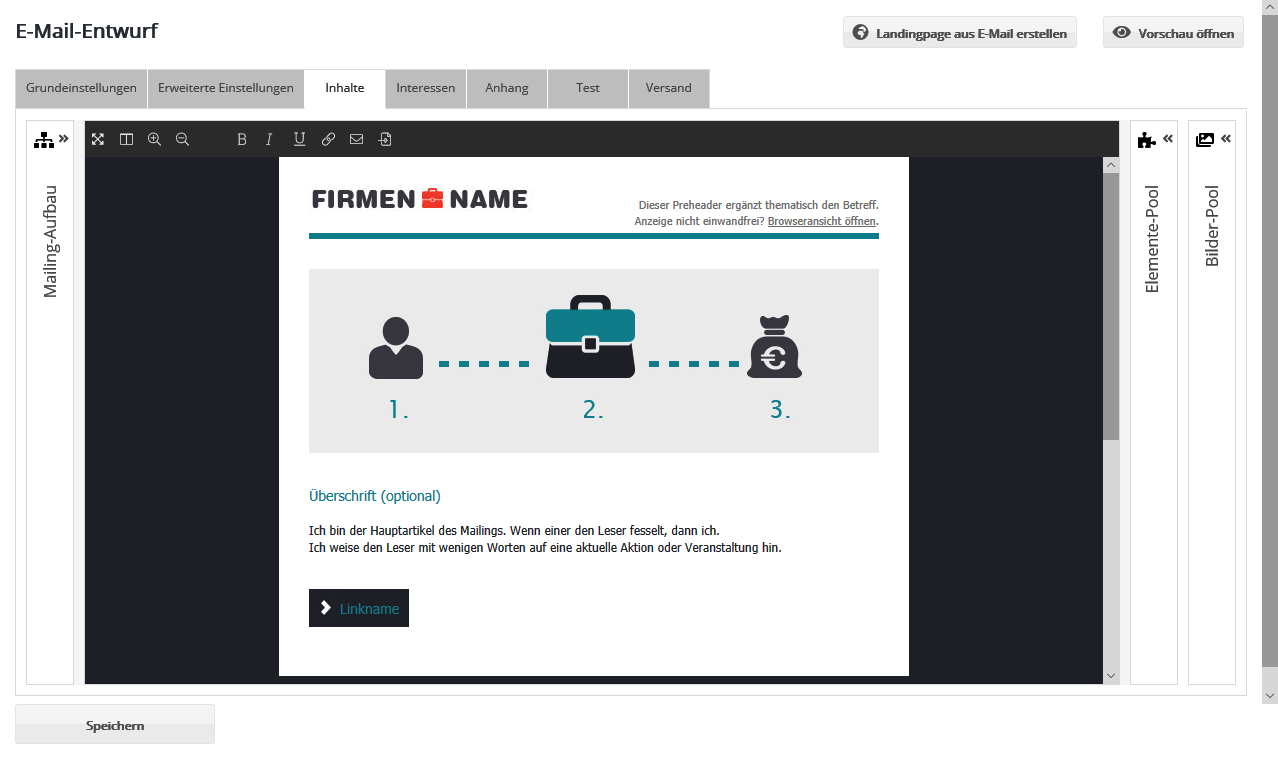
This help page describes the newsletter editor version 4. For a template-based email, you put your mailing together by drag&drop on the 'Contents' tab. If no template is selected, the 'HTML' and 'Text' tabs appear instead for entering the HTML code and text part manually. Thanks to the template, emma automatically generates a multipart email with an HTML and a text part that is compatible with all relevant email clients. 'Contents' tabThe screen consists of the toolbar at the top, the mailing draft (center) and three side panels that you can expand and collapse: Mailing content, Element pool and Image pool.
You edit texts directly in the mailing draft. The toolbar at the top offers the following functions for this:
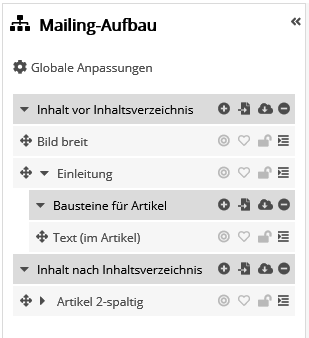
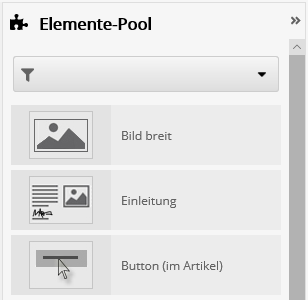
You can expand 3 panels to the right and left of the mailing draft. You can place the 'Mailing content' panel on either the left or the right side of the screen; switch it using the 2nd icon at the top of the toolbar. Mailing contentHere the current structure of your mailing is shown as an element tree. This view is especially helpful when working with more complex mailings. The top level of the element tree shows containers (dark background color). They define the basic framework of the mailing. The order of containers cannot be changed. Each container can contain both elements (light background color) and further sub-containers. The elements are the visible parts of the mailing, such as articles, images and texts. You can change the order of elements as you like by drag&drop. Which containers and elements are available in a mailing is defined by the selected mailing template.
Editing contentYou have two options for editing an element (article):
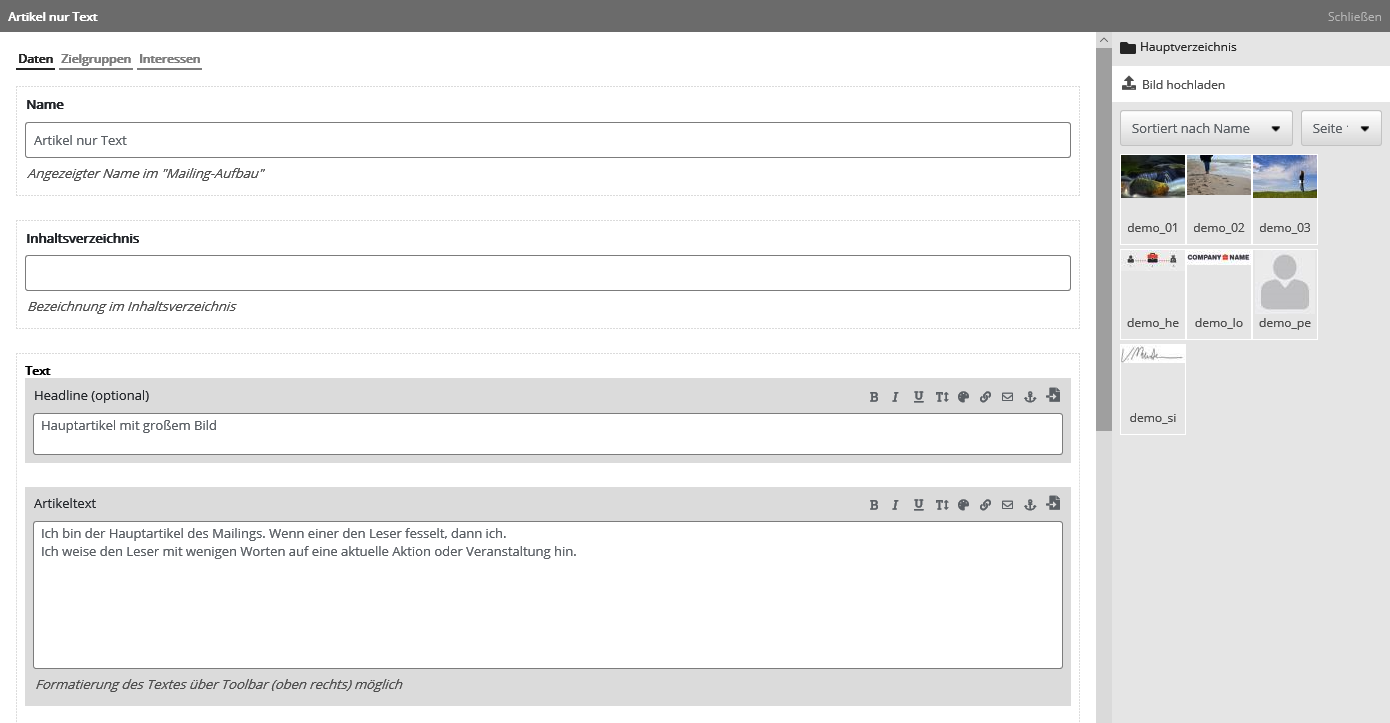
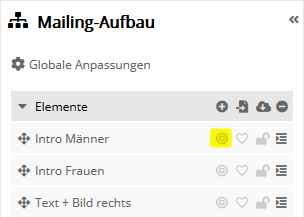
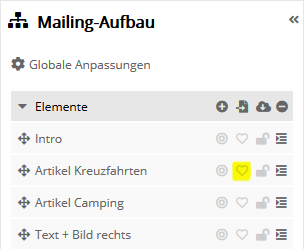
Editing content: entering dataIn the detail view of an element, you insert your actual content, i.e. texts, images and links. For small changes, you can also edit the texts and links directly in the mailing draft interface. However, editing elements in the detail view is more convenient for larger changes and offers more settings. In addition to the 'General' tab, the detail view also contains the 'Target groups' and 'Interests' tabs. You can reach them from the mailing draft interface by clicking the target group article icon (circle) and the interest sorting icon.
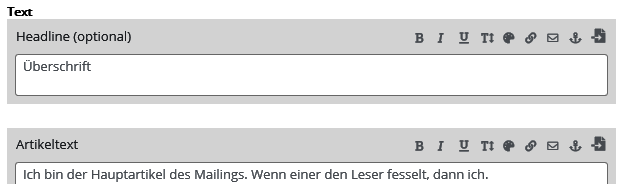
After you click 'OK', the changes are displayed in the draft view. Inserting textYou can enter text in the input fields provided for this purpose. Line breaks are applied automatically. |
||||||||||||||||||||||||||||||||||||||||||||||||||||||||||||||||





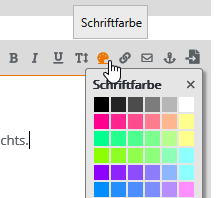 |
You can select font colors by clicking the color palette icon. You can also change the inserted color code later in the inserted placeholder. To do this, simply change the 6-digit number of the color code. |
Inserting web links
|
|
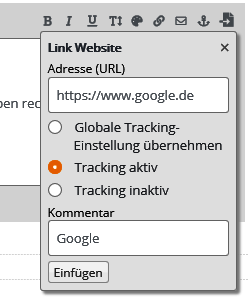
Select the text you want to link. Then click the link icon and enter the URL, e.g. "http://www.example.com". Important: The link must always start with http:// or https://, i.e. entering "www.example.com" is not sufficient. To make the links trackable in the statistics, link tracking must be activated. On the mailing tab 'Advanced settings', you can activate automatic link tracking for all links. If link tracking should only be activated for certain links, activate the 'Tracking active' checkbox when inserting the link. Optionally, enter a comment as an additional label for your link. Using different comments, you can evaluate clicks separately even if the same link URL is used several times, e.g. whether the recipient clicked the link to the online shop in the article text or in the navigation menu of the email. |
Inserting email links
Email links are not tracked. To avoid misconfiguration, email links are therefore created in a separate input form. You can open it using the envelope icon.
Inserting anchor links
|
|
Anchor links help readers find related topics more quickly by linking these topics within the mailing. To make entering anchor links easier, the system provides a special input form for generating text anchors. Open this input form using the anchor icon. Enter the name of the anchor link or anchor target (the #jump label). Please note that the names of the anchor link and the anchor target must be identical for the jump to work. |
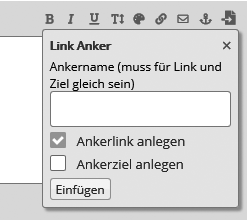
Editing content: input assistance
Use the input assistance to insert various placeholders into the text of a mailing; when the mailing is sent, they are replaced with the matching data of each subscriber. This lets you integrate, for example, subscriber data, a personalized salutation or the link to a emma landing page into the mailing. It also gives you additional formatting options. You can integrate them into your mailing simply by clicking the 'Paste' icon.
Images
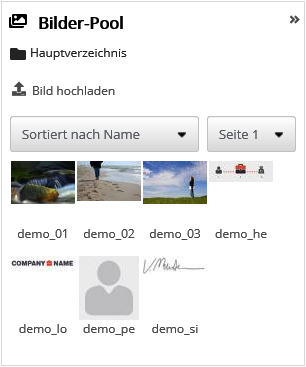
The Images tab is only available in the input assistance when you edit an image element of your email draft. On this tab, you can insert an image from your Media administration. Alternatively, you can use the 'Upload' button to add a new image from one of your local directories to the media administration.
Important note on image size: Depending on the template, you can use the 'Image width' and 'Image height' input fields to define the display size of the image in the mailing. In other templates, the image is scaled automatically to the size defined in the template. The actual file size of the image file used for sending remains unchanged. So make sure to reduce large image files in particular (e.g. those with a high resolution) to the planned display size. The functions for cropping and resizing the image are available directly in the 'Media administration'.
Subscriber fields
To use personalized texts in your newsletter, you can insert subscriber-related text components. This lets you address subscribers by their first or last name in the salutation, for example. To do this, you insert placeholders for the subscriber data you need. You can select them easily on the 'Subscriber fields' tab of the Input assistance.
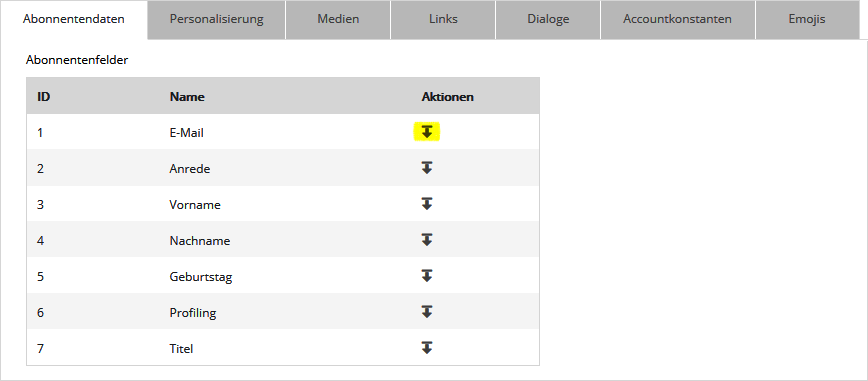
If you have booked the voucher module, you can also insert placeholders for a voucher series here. This way, each recipient receives a personal voucher.
Personalization
You can round off the personalization of your newsletter, for example, by adding a personalized form of address to the personal salutation. Example: instead of 'Dear Mr/Ms ...', personalization lets you use the specific salutation 'Dear Ms ...'. In the same way, you can create special content for certain target groups, e.g. for regular customers or frequent buyers. To do this, use the 'Input assistance' and, on the 'Personalization' tab, select a 'Personalization assistant' (rather for short text fragments such as the salutation) or an element of the type 'Dynamic content' (for larger content, images and entire text sections). The content of personalization assistants and dynamic content can also be created in emma. For details, see 'Personalization assistant' and 'Dynamic content'.
Links
To link to forms created in emma within your mailing, use the 'Input assistance' for 'Links'. These forms are managed in the 'Setups' section. In the upper part of the tab, you can also select various links with special functions or with special parameters (for link tracking).
Media
In addition to images, you can also include attachments in other file formats in your mailing. To do this, upload the files you want either in the 'Media administration' or use the area provided for this directly in the 'Input assistance' on the 'Media' tab. Click the 'Browse...' button or drag & drop a file from your Windows Explorer or Mac OS Finder onto the input field for the file name to select it. Then click the 'Upload' button.
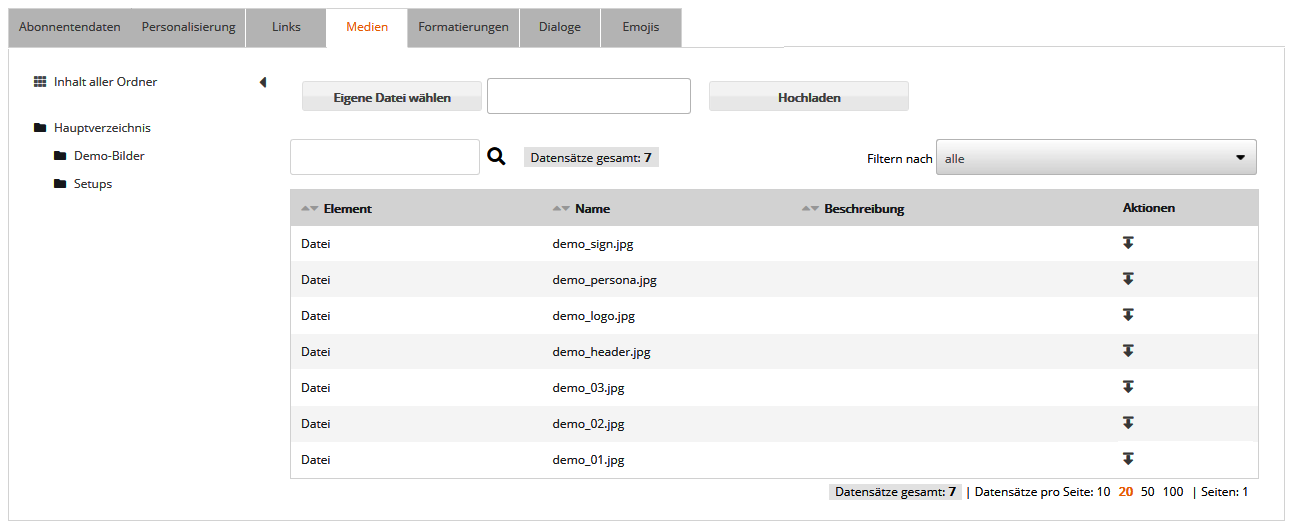
To insert the uploaded files into your mailing, select them in the 'Input assistance' on the 'Media' tab. To find the file to be inserted more quickly, use the directory tree in the left part of the window. This way, you only need to search the folder that actually contains the uploaded file.
Formatting
Under Formatting, you can choose between various formatting components. Insert them into your mailing text by clicking the corresponding icon in the Actions column. Which formatting components are available for which elements of your mailing is defined by the selected mailing template. Only the most important ones are explained below:
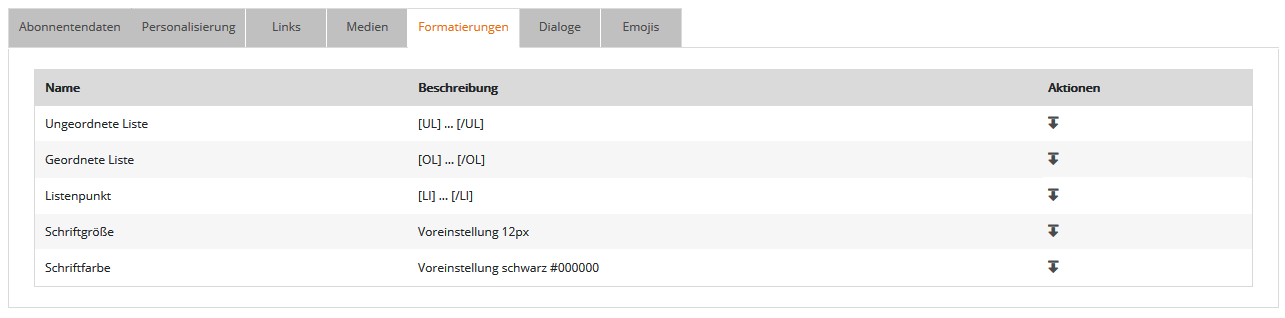
Editing font size / font color
You can define special text formatting for individual fragments of your article text. As mentioned above, you can define the various font styles and sizes in the detail view of the article using the corresponding buttons. If these are not available in your current view, you can use the 'Formatting' input assistance for this purpose instead. To do this, place the cursor where you want to insert text with different formatting. In the 'Input assistance', open the 'Formatting' tab and select the 'Font size' or 'Font color' command. Change the specified color value or size to the value you want. Please note that only the specified number is replaced. The px and # specifications must not be removed. Finally, you can replace the placeholder '...' with the text you want.
Inserting lists
If you want to split a text into list items, proceed as follows:
Select the entire text that is to be defined as a list with the mouse. In the 'Input assistance', open the 'Formatting' tab. First select the 'unordered list' command (bulleted list) or 'ordered list' (numbered list). Then you need to assign the individual list items. To do this, select each list item individually with the mouse and, in the 'Input assistance' menu on the 'Formatting' tab, select the 'List item' formatting. Your list should then look something like this:
[UL]
[LI]List item 1[/LI]
[LI]List item 2[/LI]
[LI]List item 3[/LI]
[/UL]
[UL] marks the beginning of the entire list and [/UL] its end. [LI] is the start of an individual list item and [/LI] its end.
Dialogs
Using the 'Input assistance' for 'Dialogs', you can insert predefined placeholders for special dialog email functions.
Account constants
In the 'Account constants' section, you can define placeholders yourself. You can use them for standard email addresses or for links that normally stay the same (e.g. legal notice), as well as for other values that are constant across the account. To insert such placeholders, select them in the 'Input assistance' under 'Account constants'.
Showing/hiding target group articles dynamically
|
|
Please check the result in the personalized preview. The article should only be shown if the selected preview personalization belongs to one of the article's target groups. The target groups are therefore linked with OR, which means that the article is shown to all subscribers who are part of at least one of the article's target groups. By the way, a similar function for parts within an article is offered by Dynamic content. |

Sorting interest articles automatically
|
|
Under 'Order of articles', select the option 'Dynamic, highest interest first'. Now select the interests that match the article. The more points the subscriber has collected for an interest, the higher up in the newsletter the article is placed. Since only interest articles swap positions with each other, at least two interest articles must be activated in the newsletter. Articles without an assigned interest keep their position (default setting 'Static, fixed position'). You should then check the result in the personalized preview. Depending on the interests of the selected preview personalization, the displayed interest articles should swap positions. |

Preview of your mailing
Clicking 'Show preview' (top right) opens the personalized preview of your mailing.